In all of the websites where we sell our own products we use the Optimizepress 2 as the theme and Digital Access Pass (DAP) as the membership script, due to their versatility and incredible features.
When we started developing NoSweatPlugins.com, however, we faced several challenges, and had to develop a strategy that harnessed the power of both of them to the max in order to provide an optimal user experience and increase profitability.
The challenge, and what we wanted to achieve
As you surely know, we sell several plugins in this site. We also offer multisite and developers’ licenses for all of them, as well as upgrades from the multi to the developers’ license.
Going even further, we have set up several funnels, and some of the plugins may be sold individually, as an upsell to another one, or as a downsell to another plugin.
Given we sell them via JVZoo, we had to assign them a bit “weird” names to the products in JVZoo (and thus, in DAP) in order to put the funnels in place, something like ‘No Sweat Internal Links – No Sweat Writer’s Block OTO‘.
That’s the scenario, and here is what we wanted to achieve:
- We wanted all the users who have purchased, say, our Internal Links plugin to see the commercial name No Sweat Internal Links under their ‘downloads’ area, no matter what the “internal codename” of the product was in JVZoo and DAP.
- We also wanted to show every available product in the downloads area, no matter if the user has access to them or not, but differentiating them and letting the user know which ones he has access to and which ones he doesn’t, in order to increase cross-selling.
- We wanted to have a single individual download page for each of the plugins, and promote the upgrade to the developers’ license if they have just got access to the multisite.
- And, needless to say, we wanted everyone to be able to download all the products they have purchased, but be prevented from downloading those they have not.
The basic DAPUserLinks merge tag was too basic for this scenario so we needed to go a bit more advanced. And DAP does provide their users wit something tremendously powerful: the DAP shortcode. But, how to use it in our case?
Attempt #1 : fail
With DAP, as they say in their manuals, it is pretty easy to do, you just have to use the “hasAccessTo” shortcode as shown below:
DAP hasAccessTo=”XXX” errMsgTemplate=””
…content you want user to see…]
/DAP
Put the above in any webpage and, perfect!
…..
Pretty straightforward, isn’t it?
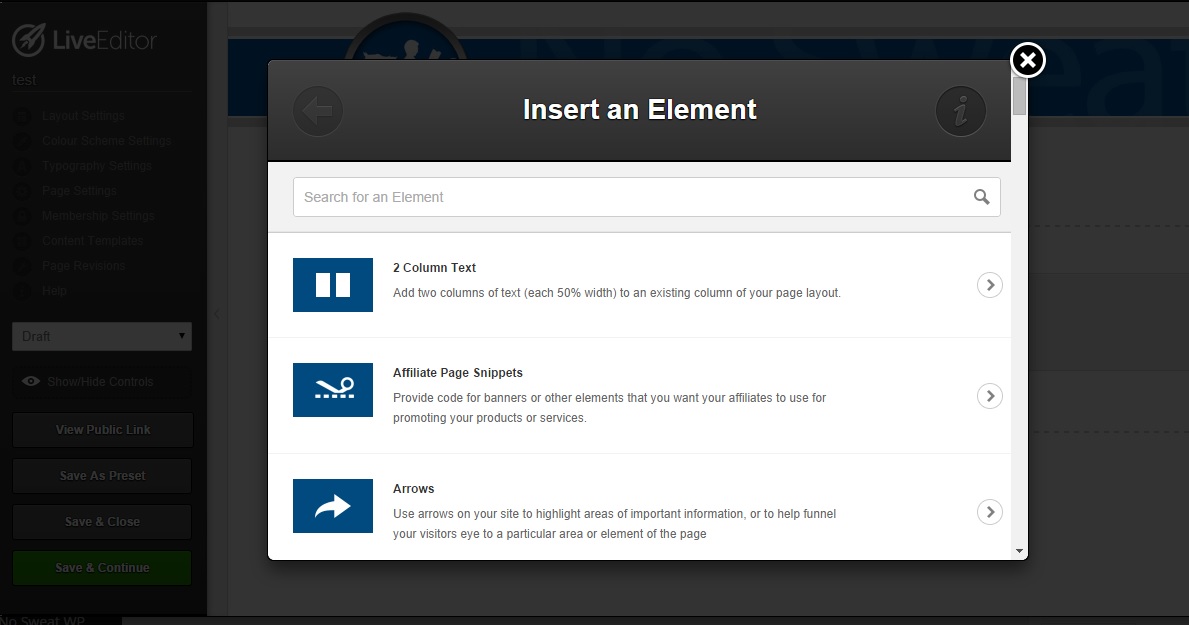
Well, sometimes it isn’t. In the case of the Optimizepress 2 Theme, it has his own page buider, called “live editor”.
With this theme, you work with elements and rows, which is great, but made knowing where to insert the DAP shortcodes not a trivial task (until you know how to do it, which will be revealed later; then it is trivial).
Our first attempt was this one:
- We inserted and HTML element with “DAP hasAccessTo=”XXX” errMsgTemplate=””” code inside.
- Then, we created other element including what we wanted to protect
- Finally we closed the shortcode with one last HTML element /DAP
The problem here is that each element in Optimizepress is independent form the others, so it does not understand the above as one piece of code (as it is needed), but as three separate pieces.
So the element we wanted to protect was in fact not being protected, and the closing /DAP shortcode was being displayed
Attempt #2: Almost there
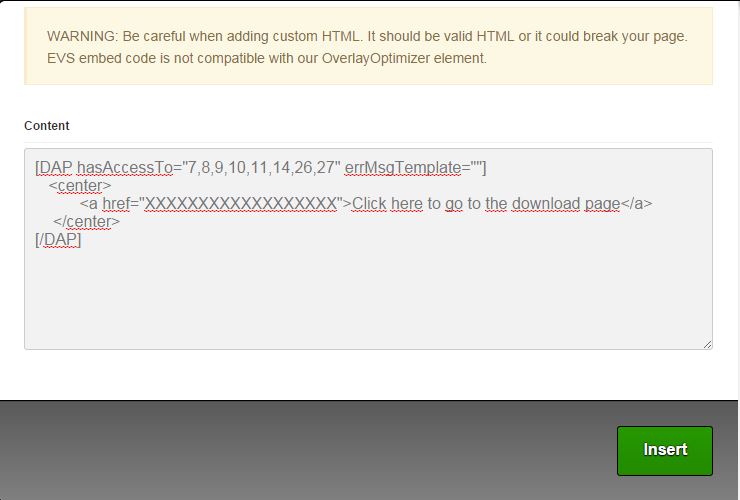
The second option was entering everything in one only element:
- We insertd and HTML element with “DAP hasAccessTo=”XXX” errMsgTemplate=”” first , then the download link (or whatever we wanted to protect), and finally the /DAP closing tag.
This worked perfectly, but was very limited for our purposes.
One of the best thing Optimizepress gives is its flexibility: you can easily insert table elements, images, bullet blocks, feature blocks etc.
The problem here was that by using the HTML or text element we were forced to code everything by hand, and couldn’t make use of the beautiful elements OP2 offers.
How could we protect other elements to only registered users?
Attempt #3: Success!!
You know, third time’s charm. Finally we found the (easy) solution.
- First of all, we inserted an element; whatever type of element you wanted to protect, it does not matter if
 it’s a text block, bullet block, or just and image.
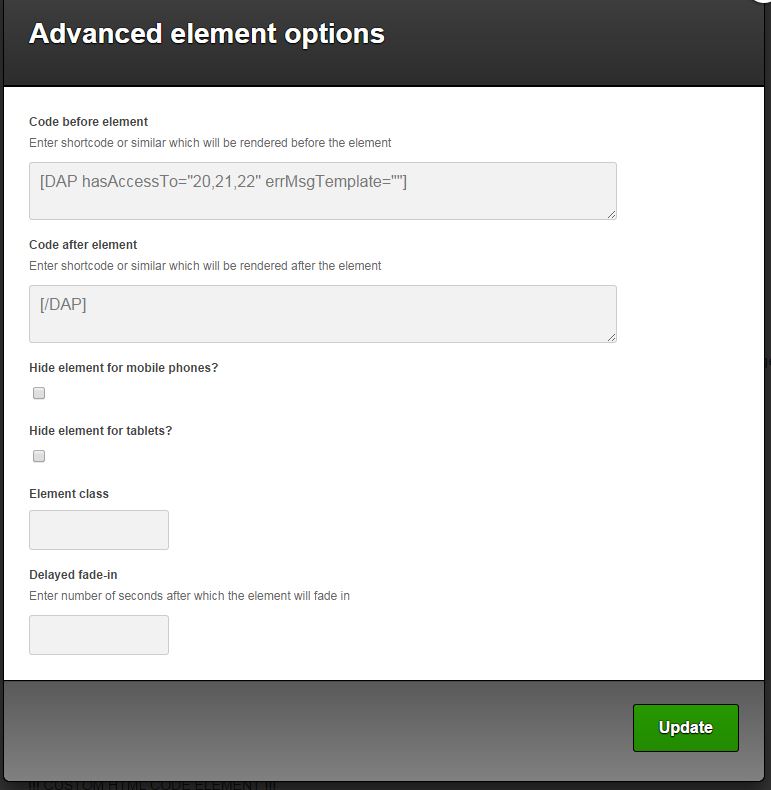
 - We selected the “Advance element options” button and insert:
- In “Code before element” the DAP shortcode “DAP hasAccessTo=”XXX” errMsgTemplate=””
- In “Code After element” the closing tag /DAP
We updated the element and… done!
You may do it also with rows just editing row options and inserting the same code in “Code before row” and “code after row”.
Thanks to the DAP shortcode and OptimizePress’ “code before / after element”, we were able to achieve all the objectives we have outlined in the first section, providing a seamless user experience while, at the same time, increasing our chances to make further sales via up-sales or cross-sales.
There you go!
Easy solution for an (initially not so) easy problem.
1 Comment
[…] By harnessing the power of Digital Access Pass (DAP) shortcodes and an advanced OptimizePress 2 feature you can get a better user experience and more profit […]
Leave A Response